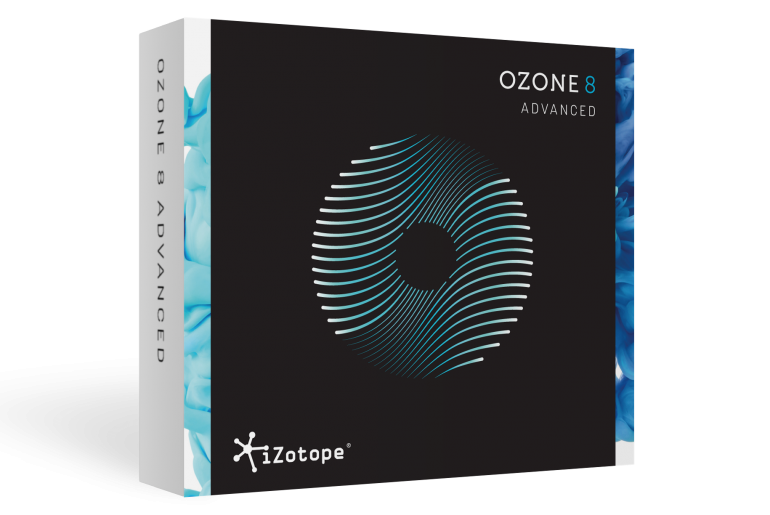
With the release of Ozone 8 mastering suite, iZotope has introduced some new features that to raise the bar for mastering and tonal shaping plug-ins. But that’s often the case with iZotope, a Cambridge, Mass.-based audio-technology company that’s brought several unique products to the studio – like the Stutter Edit effect, RX audio-restoration suite, and Neutron mixing plug-in suite.
As I have reviewed iZotope’s Ozone 5, 6 and 7 versions, I am not going to focus on Ozone’s overall layout and basic functionality in this review, but rather highlight new features. So here goes:
Ozone 8 comes in three different versions: Elements, Standard and Advanced. This review is for the Advanced version. The manufacturer has a nice comparison chart on its website (www.izotope.com) that will give you an idea of each version’s features. Something to keep in mind with Ozone (that I feel is often overlooked) is that it is not just for mastering. The different modules can all be used on individual tracks in “a la carte” fashion (in Advanced version only).
That being said, most of my time with Ozone has been spent using it as a mastering plug-in. I happen to think that once you get the hang of how it works, it’s a fantastic mastering tool, which is why it has been at the center of my master bus chain for the last six years.
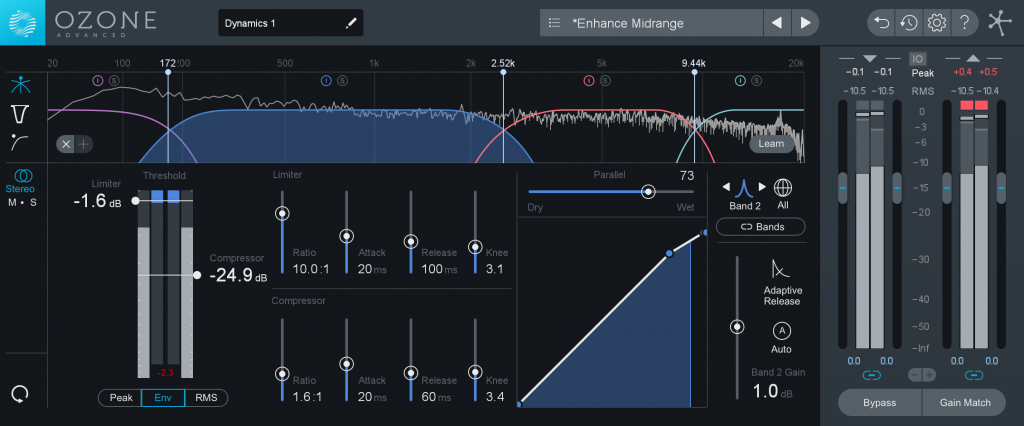
Version 8 contains an exciting new feature called Master Assistant, which can provide you with a great starting point for mastering. Master Assistant analyzes your mix and, through its algorithms, creates a sonic profile. Then it suggests signal chains and processor settings that make the most sense for your end goal.
The process is very simple. It begins by asking you what your finished mix target is: Streaming? CD? Or reference? Then, you play the loudest part of your mix and it begins its analysis. I liked where it led me, in terms of module choices and settings, and I’ll definitely use it on future mixes.
Tonal Balance Control is another new analysis tool that will help you come closer to matching reference mixes and sonic targets. Place it on the master bus (after your instance of Ozone) and play your mix. Also, Ozone’s EQ and Post EQ can be remote controlled directly from Tonal Balance Control.
There is a drop-down menu that offers three different types of mixes: bass heavy, modern and orchestral. The frequency ranges are displayed in either Broad or Fine. Broad separates the frequency spectrum into four discreet bands, while Fine offers a full frequency spectrum view.
Now here’s where it gets really good: you can create a custom target curve by importing an audio file, like a reference mix, or you can create a custom target curve from a folder of audio files. This type of functionality takes the concept of A/Bing mixes to a new level!
And finally, there is Track Referencing, which offers another way of A/Bing your mix against a target mix, but it offers some different visuals and parameters from Tonal Balance Control. Don’t confuse the two, as they serve different purposes. Track Referencing allows for an extremely quick comparison of your mix against your target mix while working in any of the Ozone modules. Simply click on the reference button below the meters and it will turn blue. Then import your reference mix or mixes.
Track Segmentation analyzes your imported tracks (target mixes) and allows you to play different sections from the reference mix, or even loop them, if necessary. What this means is that you can reference different sections of different mixes, and get a spectral comparison of your mix against the reference.
The Spectral Shaper module allows you to smooth out problematic frequencies by using frequency-specific dynamics. For example, if an acoustic guitar is a bit too plucky, Spectral Shaper can assist you in taming the harsh frequencies. While you can certainly use this on the entire mix, I found it be more of an asset on individual tracks. Select your frequency range, choosing between light, medium and heavy, and then lower the threshold. Other parameters include Tone, Attacks and Release.
And finally, I offer a brief mention about the improved Maximizer. It has some new features like Stereo Independence, which allows for the independent stereo detection of transient and sustain parts of the signal, resulting in greater control of the stereo image. The Maximizer contains four different IRC modes, with each one containing their own unique character. These modes have been improved with Version 8, and there is also a threshold learn feature.
Threshold learn will provide you with an automatic threshold adjustment based on a user-defined LUFS target. LUFS stand for Loudness Units Full Scale and it is one of the newer means of measuring loudness. As with previous versions of Ozone, this version can also run in stand-alone mode, if you prefer to handle mastering outside of your DAW.
Ozone 8 has now been drafted into service, and it will replace my older versions. In today’s climate, we are constantly being pushed to make our finished tracks sound like something that someone else did. iZotope has addressed these pressures by implementing features and workflow processes that can help us reach our sonic goals more efficiently. Well done! Ozone Elements, Standard and Advanced are priced at $129, $249 and $499, respectively. For owners of previous version, be sure to check the iZotope website for upgrade pricing.


